Help
Frequently Asked Questions
- Creating a Project
- Creating a Report
- Filling out a Report
- Generating a Report
- Uploading Images
- Using N/A Buttons
- Editing User Information
- Company Administration
- Editing Company Information
- Contact Us
CREATING A PROJECT
SWPPP Online requires a one-time set up process for each project. Information will need to be entered regarding the site, the type of SWPPP compliance in use, and other pertinent information.
- Click on “Add a New Project” from the User Home Page. Fill out the project information: choose project type, provide project name and description. Then click “Create”.

- Follow the prompts to input project-specific information
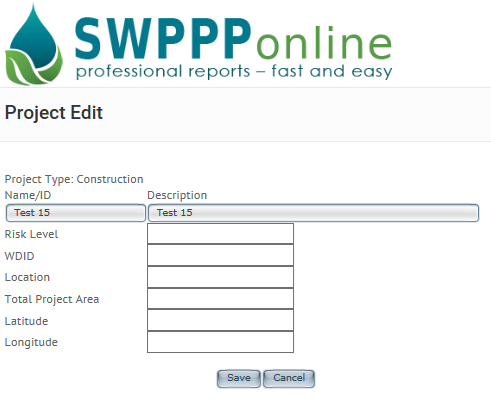 This information will include: Risk Level, WDID #, project location/area, and latitude and longitude.
- Latitude and Longitude can be found either in the SWPPP book, or by plugging the project address in to Google Maps online. Once the project is located in Google Maps, the latitude and longitude will appear in the web address bar located at the top of the page. Latitude is the 32.00000 number and longitude is the -117.00000 number.

- Click the “Save” button.
CREATING A REPORT
- From the project's page click the “Add New Project Report” button.

- Complete Report Information: select the project, the type of inspection template desired, the report name, report type, and description. Leave this selection as “New Blank Report”.
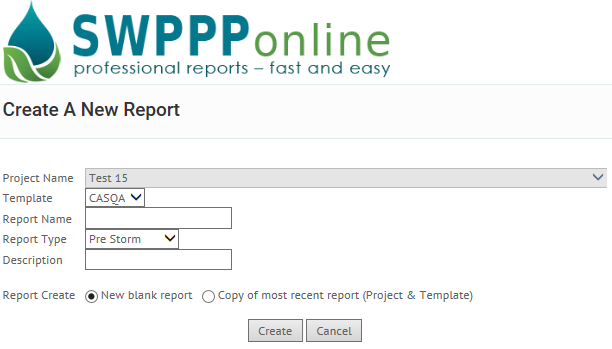
- Click “Create”.
FILLING OUT A REPORT
- On the Report Home Page, there will be a list of Question Groups which contain the inspection report questions. Continue to each one by clicking, “Next”.
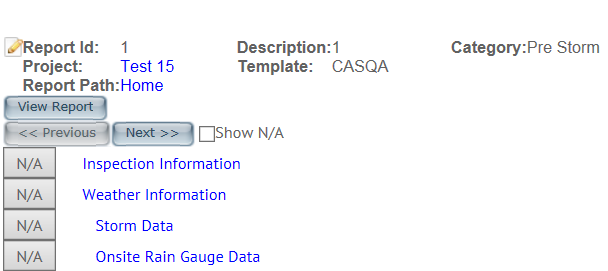 While answering questions in the report, the “Next” and “Previous” buttons can be utilized to navigate back and forth throughout the categories.
Note: Do not use the back or forward buttons in the browser to navigate, answers will not be saved.
While answering questions in the report, the “Next” and “Previous” buttons can be utilized to navigate back and forth throughout the categories.
Note: Do not use the back or forward buttons in the browser to navigate, answers will not be saved.
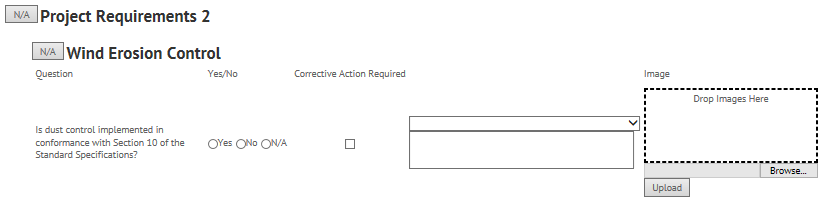
- Each Question Group will have several questions included within. Question types include: Check boxes, “Yes” or “No” selections, or a Text box where information is to be entered.
- Some questions include the option to upload images. This can be achieved by dragging and dropping the picture directly in to the image area, or by clicking the “Upload” button to select a picture from a location on one’s computer or a connected device. Multiple pictures can selected and uploaded at the same time.
- Once all questions have been answered, click “View Report” to view a .pdf of the completed report. From here it can be printed and saved. Note: If nothing happens when clicking "View Report" make sure all popup blockers are disabled.
GENERATE A NEW REPORT
To create a new report, SWPPP Online provides the option to either create a new report or to use the previous report as a copy. In the copy option, answers previously completed will transfer over to the new report. Only necessary changes need to be made.
- From the Project Home Page, click “Add New Project Report”.
- A new report can be generated by selecting the project name and, next, an option to change the report name/ type will be provided. A new report can then be created by checking either “New Blank Report” or “Copy Most Recent”.
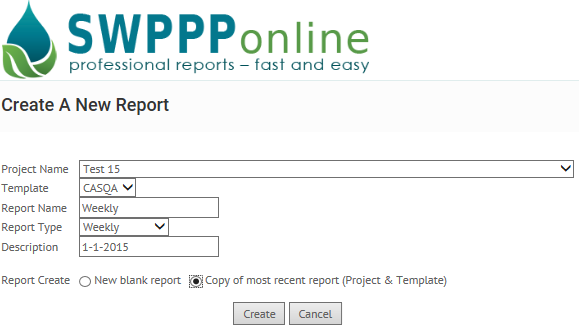
- Click “Create”.
UPLOADING IMAGES
To the right of each question is an image box, which can be used to insert either a picture or image. This can be performed by dragging and dropping the picture in to the image area, or by clicking “Upload” to select a picture from a location on a computer or hard drive. If multiple pictures are dropped or selected, all will be uploaded.
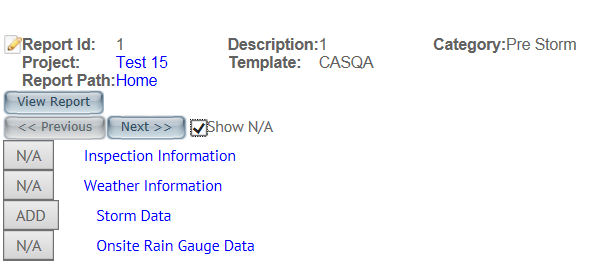
USING N/A BUTTONS
If questions arise that are not applicable to the report being filled out, the “N/A” button can be selected. In so doing, these questions will not need to be answered. For example, if it has not rained during a reporting period questions about storm duration or rainfall amounts could be marked “N/A”.
- On the Report Home Page, the “N/A” button is located on the left side of the question group. By selecting “N/A”, the group, and the questions inside become non-applicable.
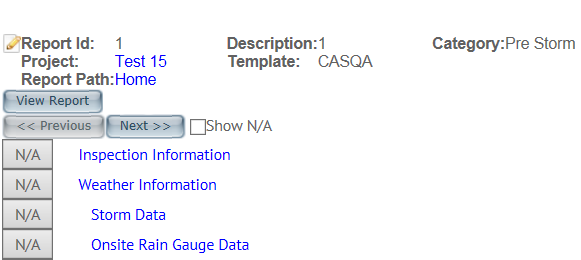
- If a Question Group is needed after all, the “Show N/A” checkbox can be clicked to allow the questions to reappear. Next, click “Add” next to the question groups applicable to the report and they will be added back to the report.
USER PROFILE
User and Profile information can be changed at any time. From any screen, “USER” can be selected in the right corner of the page. This tab provides a pull down menu of information to be edited. Job titles, contact information, password changes and uploaded signatures can all be completed here.
COMPANY ADMINISTRATION
If logged in with admin privileges with a company the “Company Administration” option appears under the user menu. Admin privileges are granted to the creator of a company and anyone that is assigned them by another admin.
EDIT COMPANY INFORMATION
From the company administration page click “Edit Account Profile”. From here the company name can be edited and a logo can be uploaded to appear on the top of all completed reports.
CONTACT US
Resources